
Google ImageGen 2 - "A picture of the Google Chrome browser icon surrounded by dollar bills."
I like to publish small browser extensions for Chrome, Firefox and Safari.
My Safari extensions go through the Mac and iPhone App Stores. The user pays once up front to download them, because the App Store lets you have paid browser extensions. However, Chrome and Firefox do not.
This is unfortunate. I like offering paid apps. They’re not as popular as free with in-app purchase, but they’re more straightforward. Pay a couple bucks and the app is yours forever. As long as I don’t have a server or other ongoing costs, that’s how it should be.
But, c’est la vie. Instead, my Chrome extensions will come with a free trial before requiring an in-app payment to continue using it. That’s even better in some ways than paid up front apps. The user gets to try it before buying.
I set up a quick system to accept payments and unlock the Chrome and Firefox extensions, without running a server. That’s important. Running servers is complicated and hard and distracts from actually shipping products.
Fortunately, with a little elbow grease and Cloudflare’s generous free tier, we can take payments without a server. 1
Prerequisites
For this guide, you need to sign up for a Stripe account. Get your bank account connected and fill out all the forms so you can accept payments through the web.
There are lots of guides out there for how to do this, so I’ll skip it.
Next, sign up for Cloudflare.
Payment links
Stripe has a feature called Payment Links. They let you create a URL with a checkout form - no code required.
When users click “Purchase” in your extension, you’ll redirect them to this payment link page. Stripe handles all the logic for credit cards, taxes, payment apps and those things.
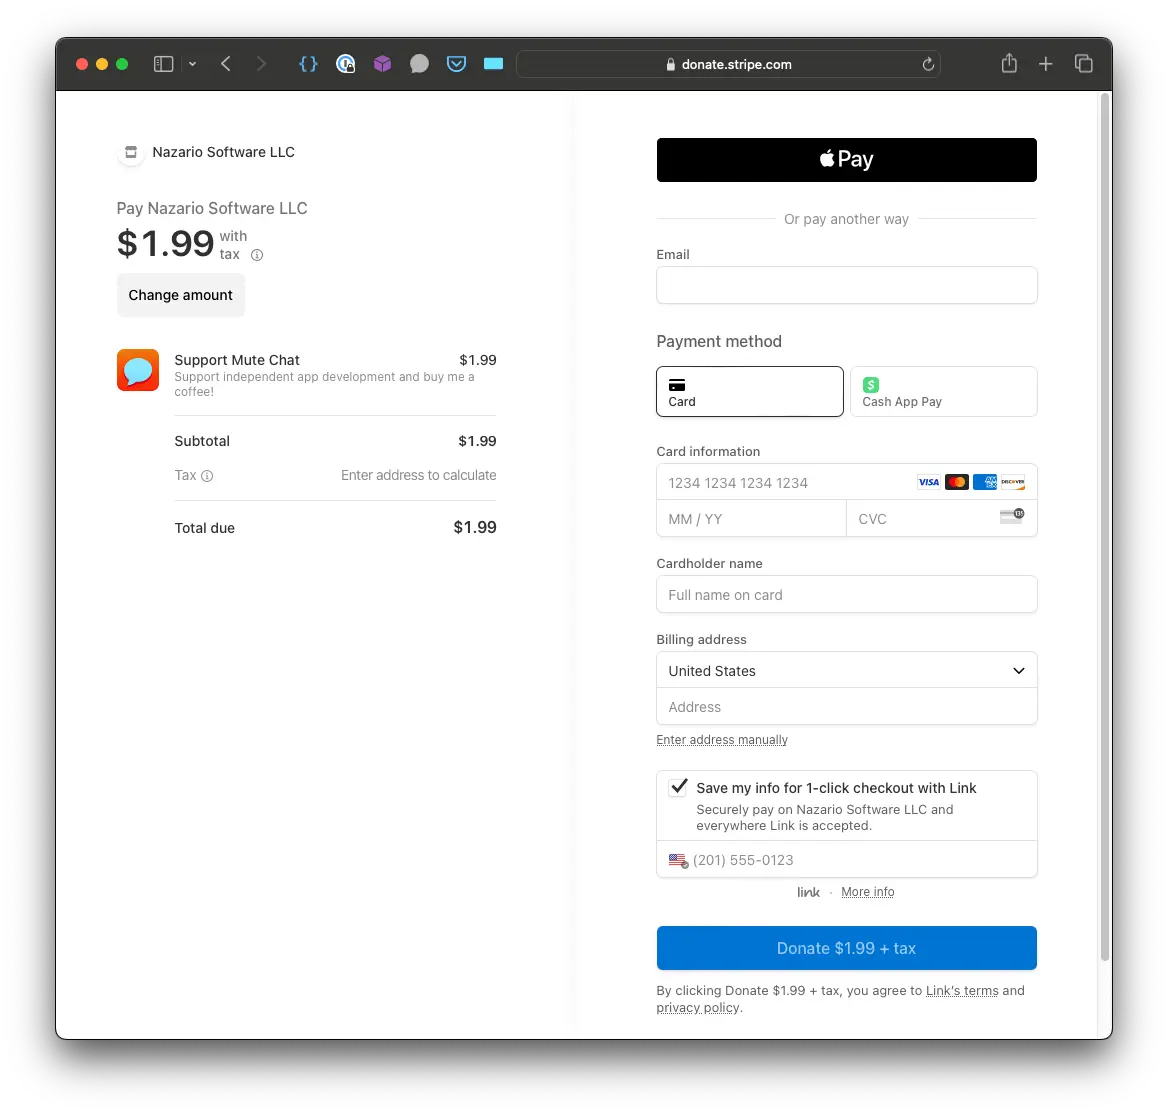
Create a payment link in your Stripe dashboard. Set the name and pricing to whatever you want. Open the link’s details in the Stripe dashboard and scroll down to the “Metadata” section. Click “Edit metadata” and add a new field: app_id. Its value should be some unique key identifying your extension. For my extension Mute Chat for BoardGameArena, I made it the extension’s Safari bundle id (com.nazariosoftware.Mute-Chat-for-BoardGameArena).

This metadata will tell you which of your apps the user purchased.
Update purchase Worker
The “server” for your extensions will be Cloudflare Workers sitting in front of a Cloudflare D1 database.
A Worker is a tiny bit of JavaScript code that runs on Cloudflare’s network when you send it a request. It does one thing and shuts down. D1 is a SQL database that also lives on Cloudflare. It has limits, but they are generous.
Follow Cloudflare’s guide to create a Worker called update-purchase. This Worker will accept webhook events from Stripe and store purchase records in D1.
Next, follow their guide to creating a D1 database, but name it customer-purchases. You should also use this SQL to get your DB started instead of the one recommended in their guide:
-- init.sql
DROP TABLE IF EXISTS CustomerPurchases;
CREATE TABLE IF NOT EXISTS CustomerPurchases (
	  id INTEGER PRIMARY KEY AUTOINCREMENT,
	  user_email TEXT NOT NULL,
		app_id TEXT NOT NULL,
		purchased BOOLEAN NOT NULL,
		created_at TEXT NOT NULL,
		updated_at TEXT NOT NULL
);
INSERT INTO CustomerPurchases (user_email, app_id, purchased, created_at, updated_at) VALUES ('youremail@yourdomain.com', 'com.yourdomain.your-app-name', 1, '2024-01-29', '2024-01-29');
When you run this SQL locally and in production (follow their guide), it’ll create a new database with a row of mock data. Use their guide to connect the Worker to the DB.
Now you can finish the Worker. It starts small:
// update-purchases/src/index.ts

export interface Env {
  DB: D1Database;
}

export default {
  async fetch(
    request: Request,
    env: Env,
    ctx: ExecutionContext
  ): Promise<Response> {
    // Return success
    return new Response('purchase successful', { status: 200 });
  }
};
Let’s add a record when a customer makes a purchase.
// update-purchases/src/index.ts

// ...

	async fetch(request: Request, env: Env, ctx: ExecutionContext): Promise<Response> {
		const event = await request.json() as Stripe.CheckoutSessionCompletedEvent;

		// Log event for debugging
		console.log('event', event);

		const appId = event.data.object.metadata!.app_id;

		// Record purchase
		const purchaseRecord: CustomerPurchase = {
			user_email: event.data.object.customer_details!.email!,
			app_id: appId,
			purchased: 1,
			created_at: new Date().toISOString(),
			updated_at: new Date().toISOString()
		};
		await env.DB.prepare('INSERT INTO CustomerPurchases (user_email, app_id, purchased, created_at, updated_at) VALUES (?, ?, ?, ?, ?)')
			.bind(
				purchaseRecord.user_email,
				purchaseRecord.app_id,
				purchaseRecord.purchased,
				purchaseRecord.created_at,
				purchaseRecord.updated_at
			)
			.run();

		// Return success
		return new Response('purchase successful', { status: 200 });
	}
Verification
You should set up verification layers to prevent bad data or forged purchase requests.
I installed Stripe’s Node.js library and used it to verify requests.
// update-purchases/src/index.ts

// ...

	async fetch(request: Request, env: Env, ctx: ExecutionContext): Promise<Response> {
		// Verify event came from Stripe
		const stripe = new Stripe(env.STRIPE_SECRET_KEY);
		let event: Stripe.CheckoutSessionCompletedEvent;
		try {
			event = (await stripe.webhooks.constructEventAsync(
				await request.text(),
				request.headers.get('Stripe-Signature') as string,
				env.STRIPE_WEBHOOK_SIGNING_SECRET
			)) as Stripe.CheckoutSessionCompletedEvent;
		} catch (err) {
			console.error(err);
			return new Response('invalid signature', { status: 400 });
		}

// ...
The test mode versions of STRIPE_SECRET_KEY AND STRIPE_WEBHOOK_SIGNING_SECRET should be in your .dev.vars file. The prod versions should be a secret on the Worker. These’ll verify purchase requests came from Stripe.
Last thing to check is that the purchase event has the necessary customer information.
// update-purchases/src/index.ts

// ...

// Verify event has necessary data
const appId = event.data.object.metadata?.app_id;
if (!appId) {
  return new Response('no app id', { status: 200 });
}
if (event.type !== 'checkout.session.completed') {
  return new Response('not checkout session succeeded', { status: 200 });
}
if (event.data.object.payment_status !== 'paid') {
  return new Response('payment not paid', { status: 200 });
}
if (!event.data.object.customer_details?.email) {
  return new Response('no customer email', { status: 200 });
}

// ...
See the full code for the whole worker. Deploy it and the database to production. Note down the update-purchase Worker URL.
Check purchase worker
Make a second Worker. This one should be called check-purchase. It’ll query the D1 database and see if a given customer has purchased an app.
Follow the same guide as before to make a Worker check-purchase. Copy the database config from update-purchase’s wrangler.toml to the wrangler.toml for check-purchase.
After that, checking customer purchase status is pretty easy:
// check-nzs-purchases/src/index.ts

import { CustomerPurchase } from '../../shared/types';

export interface Env {
  DB: D1Database;
}

export default {
  async fetch(
    request: Request,
    env: Env,
    ctx: ExecutionContext
  ): Promise<Response> {
    const { searchParams } = new URL(request.url);
    const email = searchParams.get('email');
    const appId = searchParams.get('app');
    if (!email) {
      return new Response('no email', { status: 400 });
    }
    if (!appId) {
      return new Response('no app id', { status: 400 });
    }
    const customerPurchase = (await env.DB.prepare(
      'SELECT * FROM CustomerPurchases WHERE user_email = ? AND app_id = ?'
    )
      .bind(email, appId)
      .first()) as CustomerPurchase | null;
    return new Response(JSON.stringify(customerPurchase));
  }
};
This code looks in the database to see if the given customer has purchased the given app. If yes, it returns the purchase data. If not, it returns null. Your extension code can do the rest.
Deploy the Worker.
Webhooks
The last step is hooking up all this to Stripe.
Stripe has a system of webhooks to notify you when a purchase completes. Follow their guide to create a webhook so when the customer completes a checkout session (checkout.session.completed), Stripe will POST the purchase data to the update-purchase.
Limitations
This setup has a few limitations. First, it’s only good for one-time purchases. Handling subscriptions would take more complicated code. You could probably do it with just a little more logic in update-purchase.
Second, it’s weak DRM. A non-paying customer could just put in the email address of someone who had bought it. There’s not a great way to work around this. ExtensionPay limits users to 10 installs, which seems a bit user-hostile.
For me, it’s not a big deal. My extensions are so obscure that I don’t think people will put much effort into pirating them. If they do, well, I’ll figure something out.
This approach also only works for Safari if your extension is Mac-only and distributed outside the Mac App Store. If it’s on the App Store, it has to use StoreKit and Apple IAP. You can’t be on iOS without being on the App Store.
Please write in
This is my first time setting up something like this. If you’ve spotted any obvious mistakes or have an idea for how to improve this setup, please get in touch.
- Serverless computing is such a godsend for us frontend devs. So many times, I’ve caught myself wishing to run just a little backend code.↩